Ever since we saw this
skirted table at the NYIGF, I have been obsessed! So much so that I decided to take an old Ikea table and fancy it up so that I could use it as a much needed extra large desk. As you can see, I choose to keep things a little more streamlined and simple :)
What you'll need!
- 8 yards main color fabric (I used cotton twill in cream from Joanne Fabric for this budget project)
- 1 yard accent color fabric (in my case 1 yard of leftover Barbara Barry Poetical by Kravet)
- 5 spools of wide twill tape
- 4 spools of thin twill tape
- 2 large tubes of fabric glue
- 1 large spool of Stitch Witch
- staple gun
- hammer
- iron
Here is the top - I sanded it down and painted the top. Since I knew I was doing a skirt, I didn't even bother to paint the utility legs. See all that junk? That's what is going to be hidden :)
First thing I had to do was cut the fabric, iron like crazy and hem all of the bottom edges. I used 'stitch witch' and ironed some more. I created 6 hemmed panels in the main color (two for the front, two for the back and one for each side) and 3 hemmed panels in the accent fabric.
I then needed to add the fabric trim while the fabric pieces were still un-attached. (Sense a theme here?!? Iron, iron, iron...) I used aluminum foil to do two things - 1) create a pattern so that the brown twill tape would be the same 3 inches off the hemmed edge and 2) to protect everything beneath it from any glue that might seep.
I then added a second row of thinner twill tape and ended up using a fabric tape measure to space the two pieces of twill tape. I then glued like crazy. Note: if you are attempting this at home, do not pull or stretch the fabric or the twill tape because when it dries, it will shrink and wrinkle the fabric. I would recommend using the heaviest fabric you can find to avoid this issue.
Ta-dah!
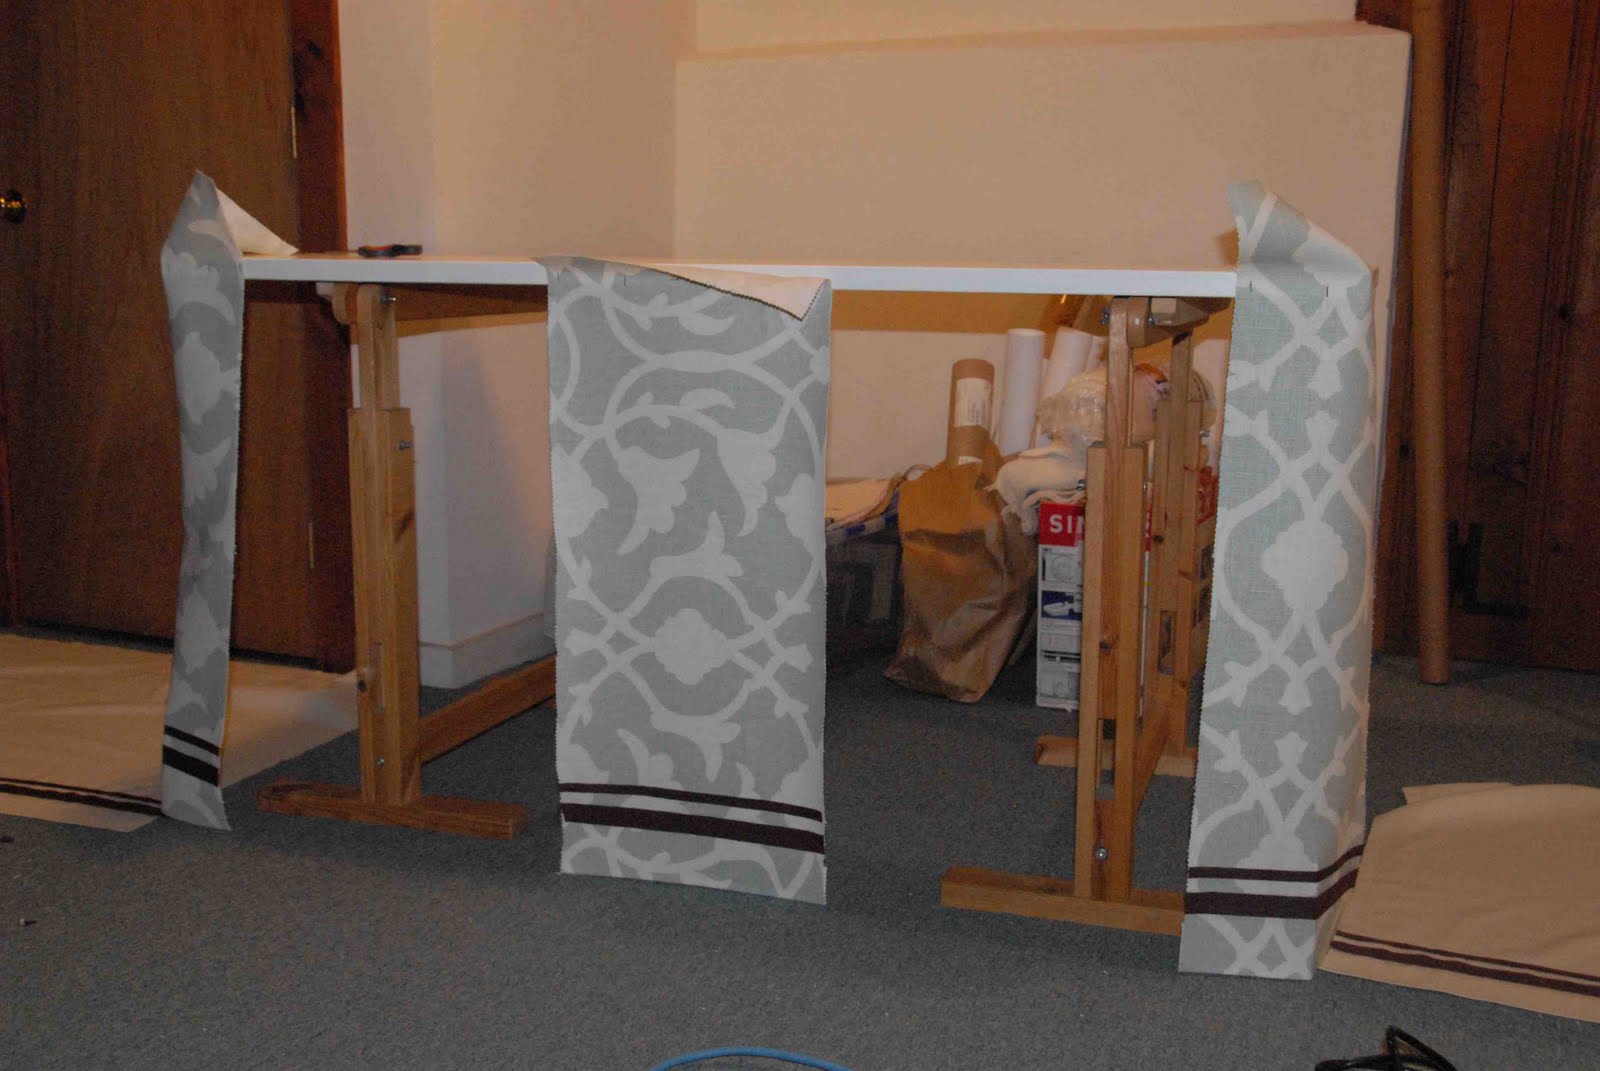
Here are the first three pieces of fabric that I attached with a staple gun to the table. Yep - that's Barbara Barry's Poetical from Kravet. (I wish I'd had more leftover from my curtain project to reverse the two fabrics and have this as the main fabric as opposed to the accent! But we all have to work within our budgets...right?!?
Here is the table - as a work in progress. I measured the width of each piece of fabric and then ironed crisp edges. I did not bother to hem the sides, but did stick a little glue at the hem to hold it in place. I then very carefully draped the fabric over the table and stapled like crazy. The hammer came in handy to finish off the staples and also as a weight to keep the fabric in place.
I then trimmed the extra fabric and added a single row of the large width twill tape (with fabric glue) to cover the staples along the edge of the desk. And here is the mostly finished table!
Mostly you might ask? Yep - I ran out of the wide twill tape to finish the top edge. And since I initially bought-out Joanne fabric of all their chocolate brown wide twill tape, I'll have to wait for the next truck to arrive...UGH!
I am quite pleased with my budget renovation of my 15 year old Ikea table! And all for under $125 and a few hours time!
Stay tuned for more on the basement fix-up!
Cheers!
Becky


ok i am a little confused on how you did the top part of the table? you just traced the fabric and cut around? then laid it down? what if you didn't want to put fabric on top would that be weird?
ReplyDeleteSo sorry for the confusion. The top of the table is painted. The fabric just goes around the sides of the table.
ReplyDeleteGood luck with your project!! We'd love to see the results!